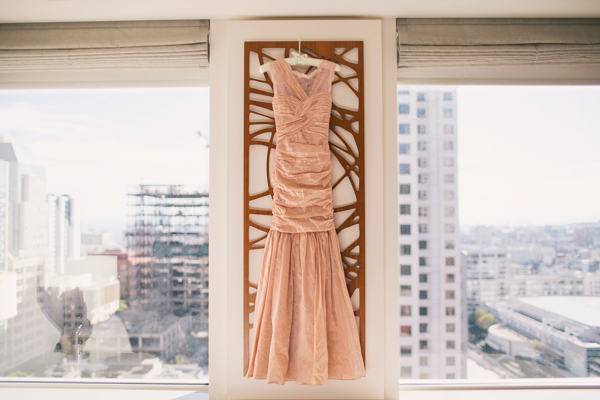
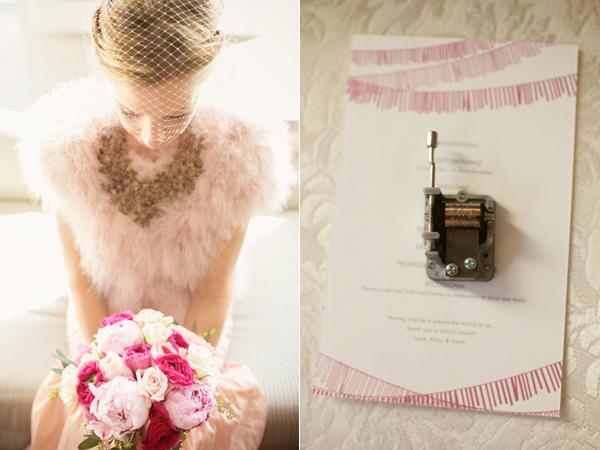
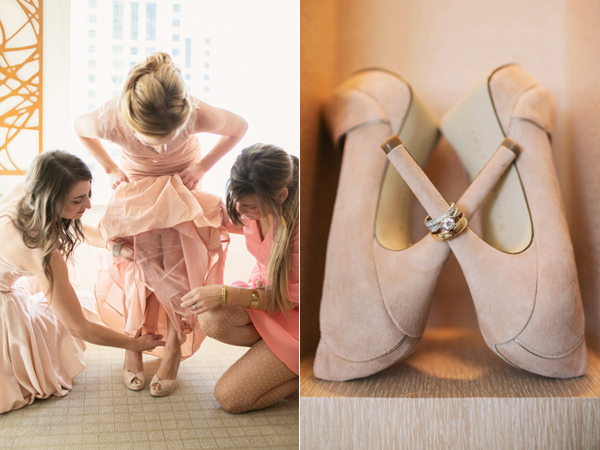
Yay! I am so excited for Dave + Misty who kicked off the New Year with a wildly romantic New Years Wedding. Not only am I honored that they choose to work with Rooted Events but I am also grateful to have been a part of my dear friends special day. Congrats Misty + Dave! You can check out their Ruffled feature HERE.
|
Today I had the amazing opportunity to guest blog over at my dear friend Yuliya's get-up. Read it here at Rooted or check it out over at Yuliya M. Photography either way you are trend setting.
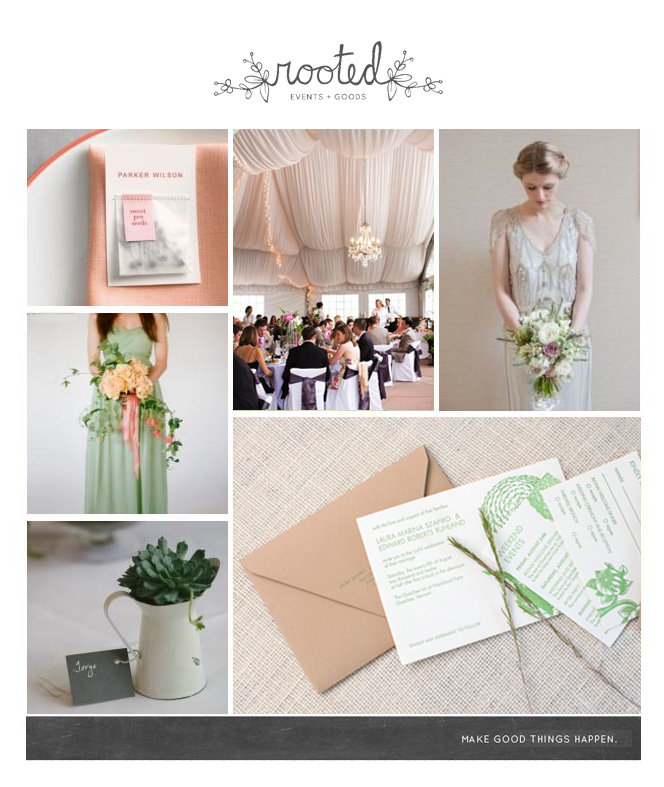
Some people do not need an introduction on my blog and Danielle is one of them! Not only did I have the immense honor to shoot her wedding and in the process gain a friend, but we’ve also been growing our businesses together, and it’s amazing to see how far this lady has come! Danielle started wedding planning shortly after her own and now she implements her talents and creativity into many other weddings with Rooted Events. Today, I’m honored to have Danielle as my guest blogger! Hi! I’m Danielle from Rooted and I’m so honored to be your guest today! I love all things pretty but most of all sharing the joys and loves in life. There is nothing sweeter, nothing greater than bringing two people together who share an endless love. As, we all know with this love comes lots and lots of planning, late night pinning, budget managing, crafting, hair-pulling (okay maybe that’s just me) and finally after all the hard-work the most amazing day of your life happens. A WEDDING! Today, I’d like to share a little of what the 2013 wedding season is brining. TOP 5 WEDDING TRENDS 2013 1) Roaring 20′s are back in full force! Go raid grandma’s closet and pull out all her head pieces, red lip stick, nude dresses, dapper menswear and lace everything! 2) Rent a dress. Yes, that’s right rent a dress and save! You can check out littleborroweddress(bridesmaid dresses) they will send you swatches and your bridesmaids can rent a dress at about a third of the cost. They will even send you two sizes in case one doesn’t fit. 3) Invitations always set the tone for the event but we are seeing more and more brides splurge on pretty paper, and for good reason. These beauties tell guests, frame me I am art! Custom illustrations, letterpress beauties (some eye candy from Wenduink) and foil printing are just a few of this years trends. You can also expect a little taste of neon, classy neon that is and more brides ditching the flat card and going 3-D. Pocket folds, boxes and embellishments. It’s definitely the year of the invitations. 4) 2013 is moving towards sophistication. We are seeing a lot of outdoor weddings with beautiful tents, chandleries, gold or silver chargers and crystal on tables. Black tie is all the rave! So strap on your ball gowns and get ready for a lovely evening. 5) Green Weddings! We all saw it last year and this year it continues to spread like fire. Green favors and invites are the easiest way to incorporate green into your wedding planning. Seeds and organic plants are the go to for favors, and skip the wrapping just place these beauties on your guests seat or plate for a lovely presentation. Jump on board and start spreading the trends! Happy planning. Cheers, Danielle A few years back I decided I wanted and needed chickens. At the time my husband wasn't to keen on the idea, so I sat back and patiently waited (okay not so patiently but you get the idea). This spring we decided it was time and we were ready to welcome baby chicks into our home. We researched breeds, talked to our chicken friends, decided on our egg quantity needs and placed an order with Mill Valley Chickens (a wonderful little family owned farm with a 10 year old chicken master who will just amaze you with knowledge). We picked up our darling little chicks on March 23rd, set up shop in our home office and the chick t.v. began. We couldn't get enough, they entertained us for hours upon hours and it was simply hilarious. The pecking, the prancing and the games were endless. Our next task was deciding whether or not to name them. We've heard mixed reviews but decided at Drier Farms all our furry and feathered friends will have names. So, we settled on Betty for our black Americana, Blanche for our big brown Barred Rock, Scramble for our silly and sweet Naked Neck and Dolly for our beautiful Delaware. Dolly started out with the name Sookie but my husband (remember the guy who wanted very little to do with the little ladies) feel in love with her and decided he wanted to call her Dolly, which fits quite nicely.
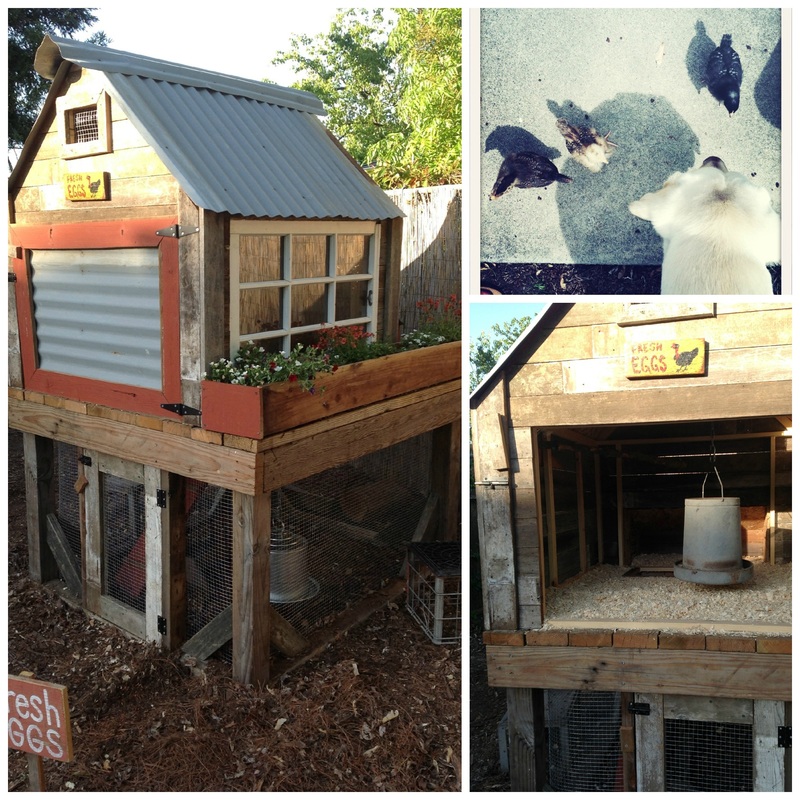
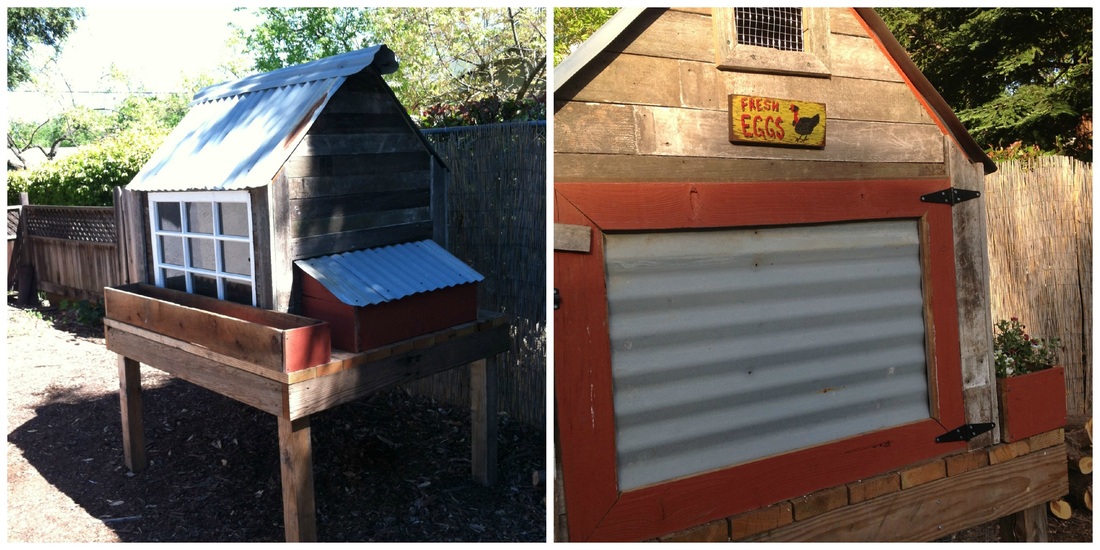
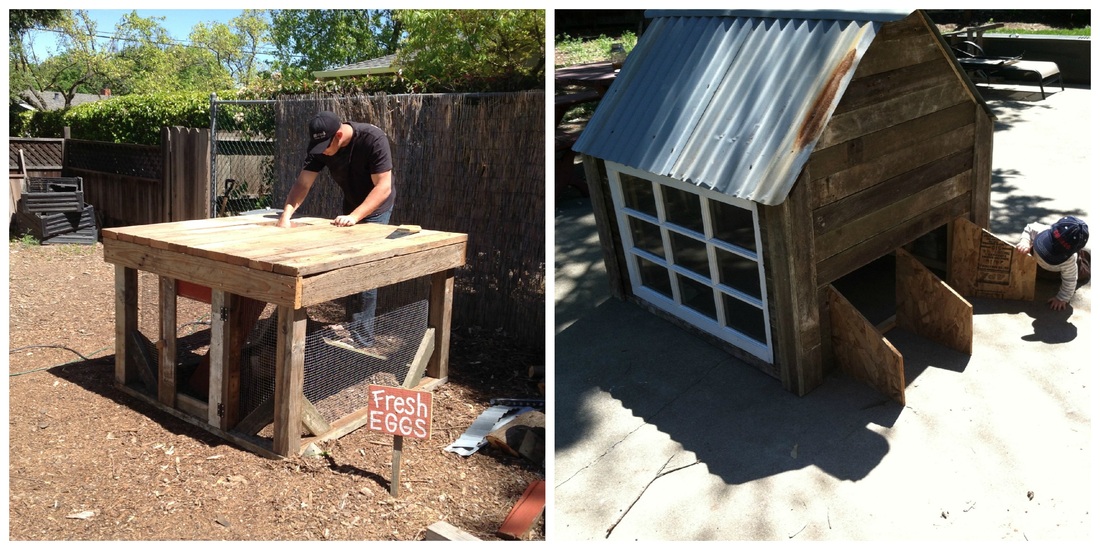
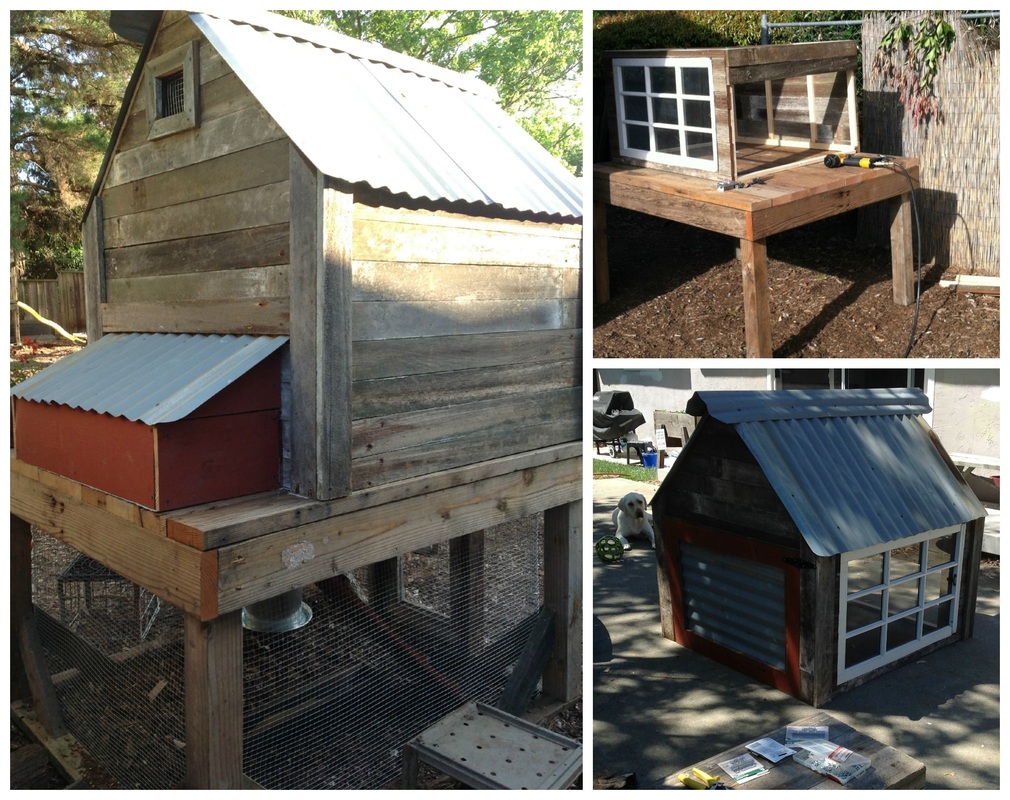
We weren't in a rush to start a coop seeing as most books, blogs and chicken lovers say that chicks are usually in their brooder for a good 5-7 weeks. Turns out our little chicks grew quite quickly and there feathers were coming in rather fast. So we (my husband, dear friend Mike and myself) started the coop around week 2. I had a general coop plan idea, I mean who wouldn't after multiple hours/days of searching via pinterest, books and blogs. But honestly I was driving myself crazy with all the options/styles and sizes and also making my husband nuts because I continued changing my mind. So finally, I threw my hands in the air and we decided to wing it (best choice ever!), use things we already had and/or things we could get for free or for very little cost. And so "Project Coop" began. We spent the first couple days collecting old wood from neighbors, friends, local barns and any other resource we could think of. Once we had a good amount of wood and supplies the boys (Mike and Jeff) built the base in a just a couple of hours. Over the course of the next couple weeks, I worked on the coop with our friend Mike (he has some weekdays off and was willing to come over during the week while Jeff was at work and help me, or should I say I helped him build our coop). After building the base and framing up the main coop, we spent about another 8-10 hours piecing the details together, sweating in the beautiful Pleasant Hill sun and learning all about jig-saws, chop saws and the basics of building (Let's just say a chop-saw is high on my birthday list!). We were getting close but still needed a roof, planter box and to build the nesting boxes. My husband, Jeff came through with some galvanized steel roofing from an old local barn that was being taken down and it worked out perfectly for the roof. I decided to tackle the planter box one afternoon when the little man was napping and It complimented the window and coop perfectly. We added the finishing touches, hardware, plants, ladder and trim. BAM the coop was done! A big thanks to my husband for putting up with weeks upon weeks of coop talk, coop pictures and a serious coop obsession. A high-five to Mike for all his help- his serious knowledge of building, the use of some pretty cool tools, his creativity and most of all his time. I am pretty sure I'd still be working on the coop if it wasn't for him. Thank you. Our ladies are loving their new home and we are very much looking forward to fresh eggs and long evenings of chick t.v. Total Cost of Coop $76-Hardware Cloth ($30 for 2 rolls), hardware ($13) and Galvanized Water Feeder ($28) |
 RSS Feed


